Ultimate Guide to Choosing Your Starlink RV Pole Kit – Easy Install Tips
As the world becomes more connected, the demand for reliable internet access in remote and mobile environments has surged. For RV enthusiasts, staying connected is no longer just a luxury. It’s a necessity. Whether you’re working from the road, staying in touch with loved ones, or just streaming your favorite shows, having a stable and fast internet connection is essential. Therefore, it can make or break your RV experience. This is where Starlink comes into play, especially with our dedicated RV Pole Kits. In this guide, we’ll walk you through how to choose the right Starlink RV Pole Kit for your needs, particularly covering everything from dish types to mounts and subscription options.
1. Identifying Your Dish Type: Gen 2, Gen 3, or “Mini”
Before diving into the pole kits, it’s certainly crucial to determine which generation of Starlink dish you have, as this will influence the type of kit you need. Starlink currently offers two main dish types: Gen 2 and Gen 3 (aka V4). Both are thus perfect for RVers who work remotely or consume a lot of media..
- Gen 2 dishes are motor actuated and come with a mini tripod. These are becoming less and less available.

- Gen 3 (aka V4) dishes come with a standard “kickstand” to place the dish on the ground. They are the larger design for users seeking robust connectivity. These dishes unquestionably offer ease of use and stability, making them ideal for RVers.
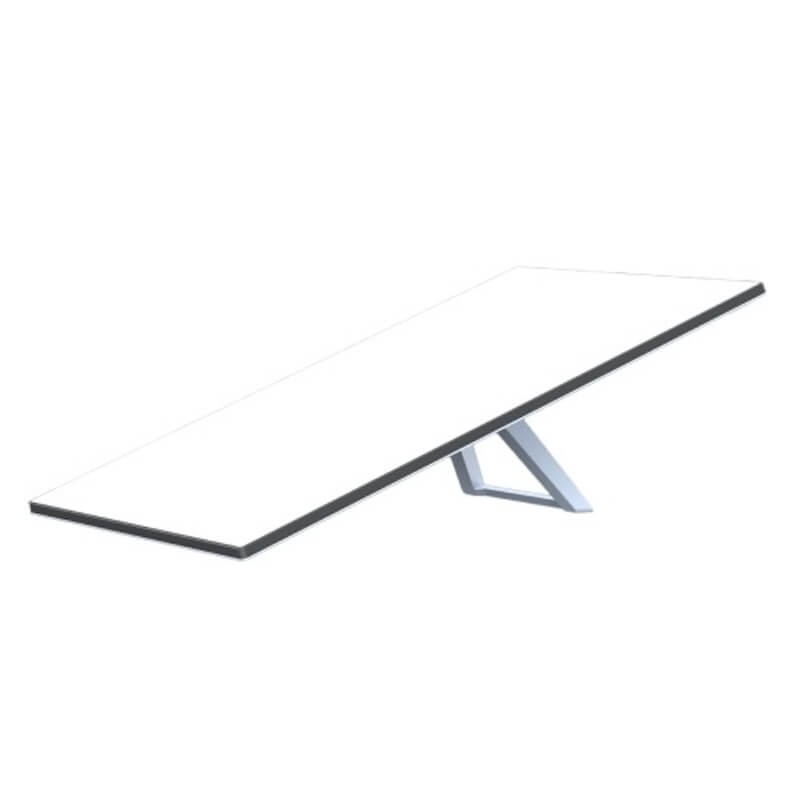
- “Mini” dishes come with a standard “kickstand” to place the dish on the ground. They are the newest design for users seeking robust connectivity. These dishes unquestionably offer ease of use and stability, making them ideal for RVers.
Understanding which dish you have or need helps in selecting the correct mounting kit, as the mounting requirements vary slightly between the two.
2. Choosing the Right Mount
Selecting the right mount is critical for the installation and stability of your Starlink dish. There are several mounting options available, each suited to different types of RV setups:
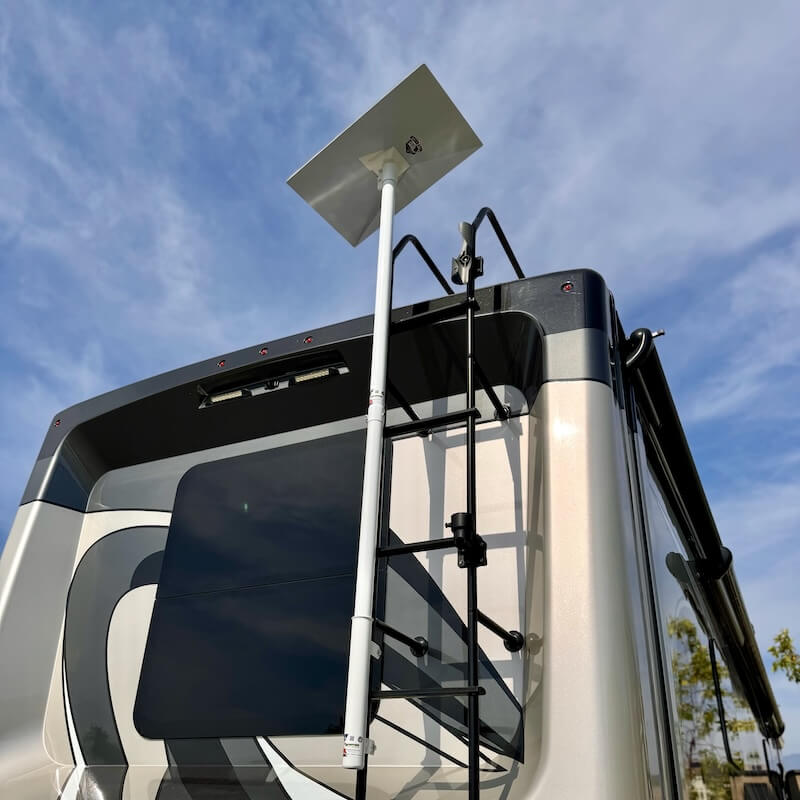
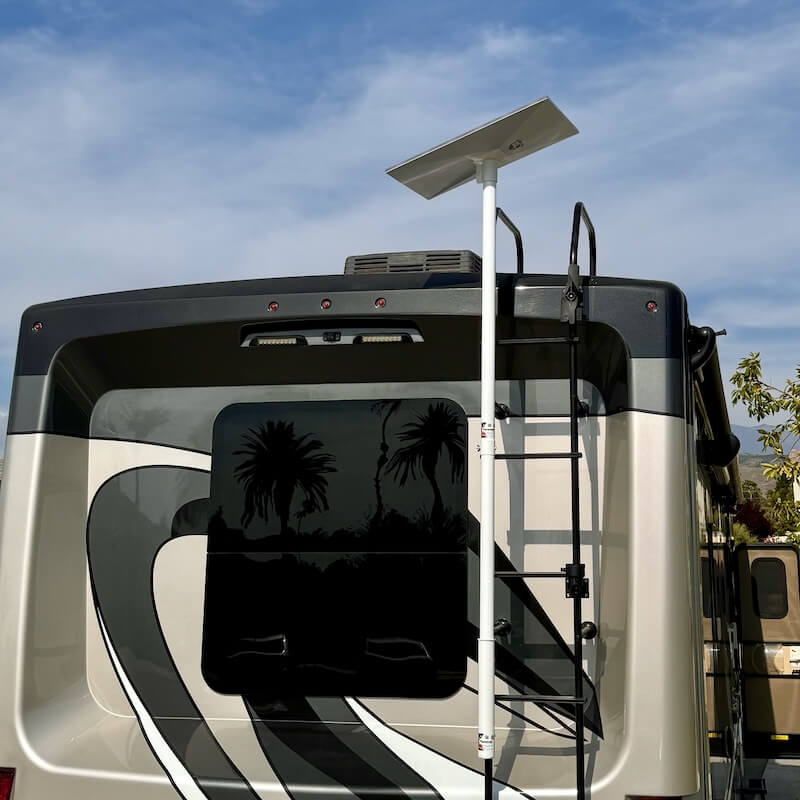
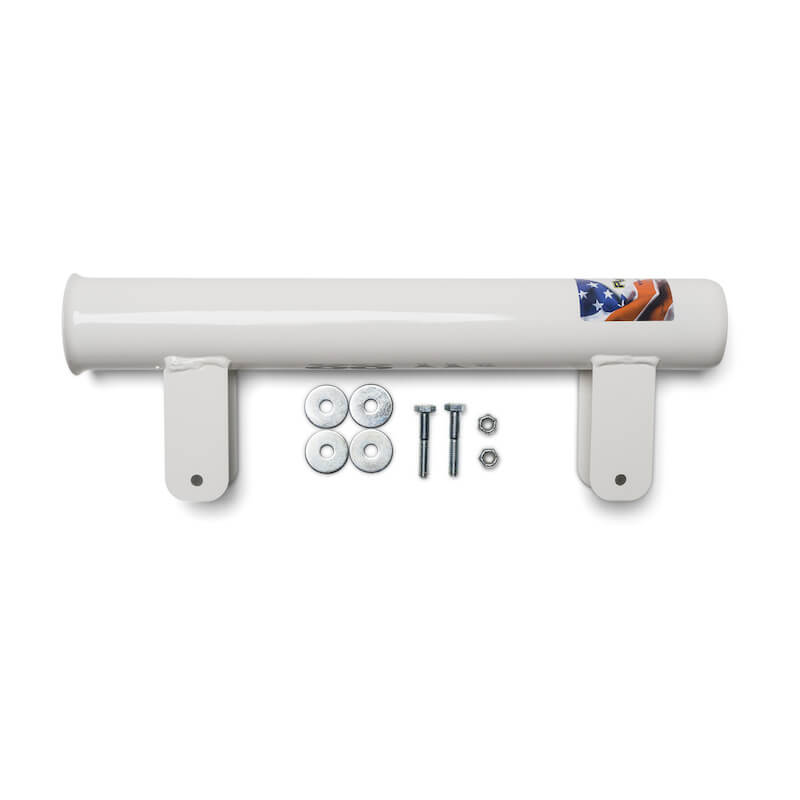
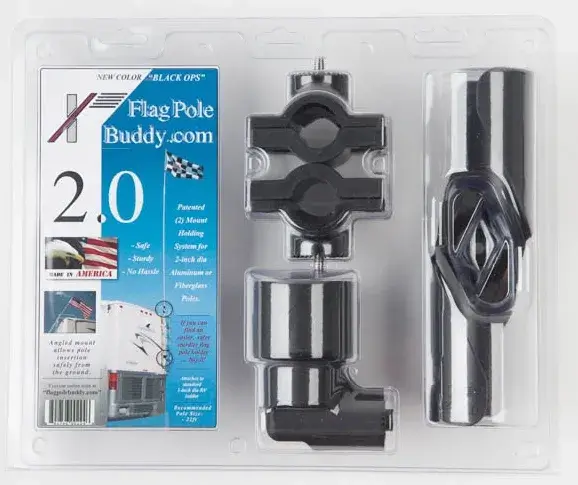
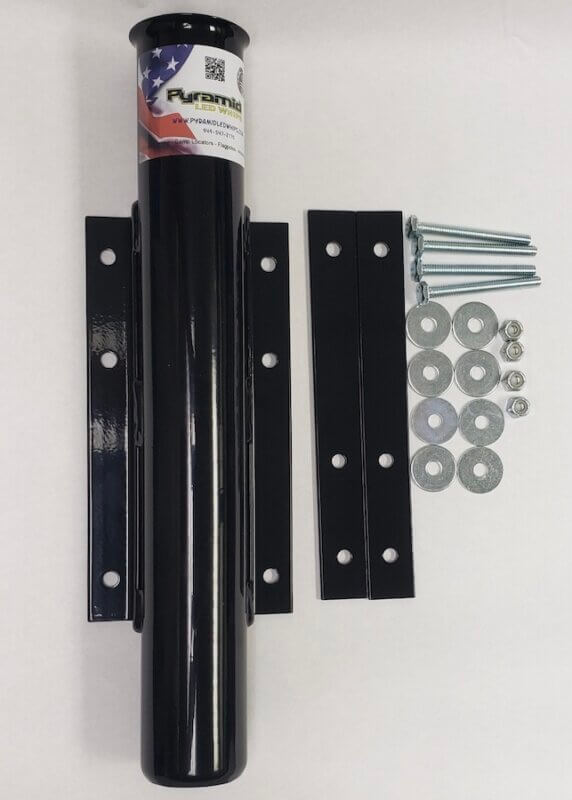
- Ladder Mounts: Ideal for those who have a ladder and want a solution that’s easy to set up and take down as you move from one location to another. We have two types, a steel Pyramid® Ladder Mount or a Flag Pole Buddy® 2.0 Ladder Mount.
- Tire Mount: A great choice if you prefer something that can be quickly deployed on the ground without needing to drill holes or make permanent adjustments to your RV. It can also be used under a heavy park table, trailer stabilizer jack and so forth. You can use it on a tow vehicle or car.

- Hitch Mount: Perfect for RVers who need a stable setup that can easily attach to the existing 2 inch receiver of a tow vehicle.

- Bumper Frame Mounts: These are tailored / pre drilled for specific bumper or frame sizes. A combo 4, 5, 6 inch, a 7 inch, or an 8 inch option.
Each mount type has its own pros and cons, depending on your RV’s design and your travel habits. It’s important to consider how often you move, where you typically park your RV, and how much space you have for storing mount components when not in use.
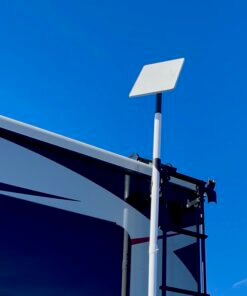
3. Extension Pieces: Height Matters
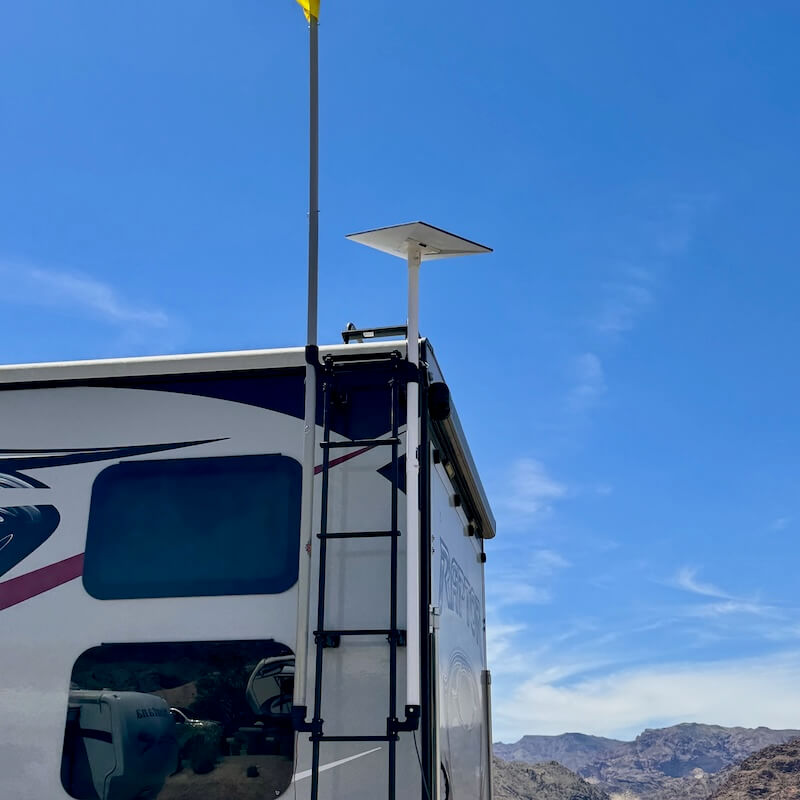
Sometimes, achieving the optimal signal strength requires raising your dish above nearby obstructions. This is where extension pieces come into play. We offer the option to add up to two extension pieces to your setup, allowing you to elevate your dish for better satellite visibility and improved signal quality. This can be particularly handy in wooded areas or RV parks with several obstructions. Typically, ladder mounts do not require an extension(s). The others often do require 1 or 2 extensions. Keep in mind that each extension adds weight to the pole and dish when lifting up in the air. If you already have an unobstructed view of the sky at a lower height, no need for an extension.
4. Picking Your Subscription Plan: Residential vs. Mobile
Starlink provides two primary types of subscriptions (available from Starlink, not Hitched4fun.com):
- Residential Subscription: Best suited for those who primarily stay in one location or use their RV in a stationary manner for extended periods.
- Mobile Subscription: Designed for the true nomad, this plan allows you to use your internet service in different locations and even pause your service when it’s not in use, making it cost-effective and flexible.
Choosing the right plan will depend on your travel style and internet needs. It’s worth noting that the mobile plan offers the flexibility to pause and resume service, which can be a significant advantage for seasonal travelers.
Conclusion
Choosing the right Starlink RV Pole Kit involves considering your specific needs, from the type of dish and mount to the subscription plan that best fits your lifestyle. We hope that this Ultimate Guide to Choosing Your Starlink RV Pole Kit – Easy Install Tips blog helps you. By taking the time to understand each component, you can ensure a seamless, stable, and reliable internet connection no matter where your travels take you. Stay connected, stay adventurous, and make the most of your travels with the right Starlink setup.
Starlink Videos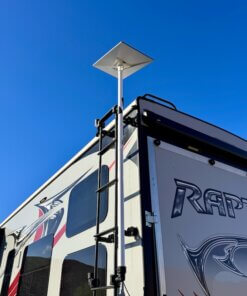
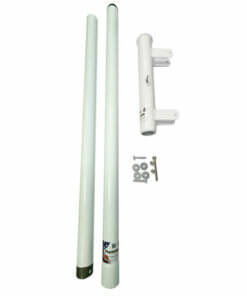
Antenna Masts

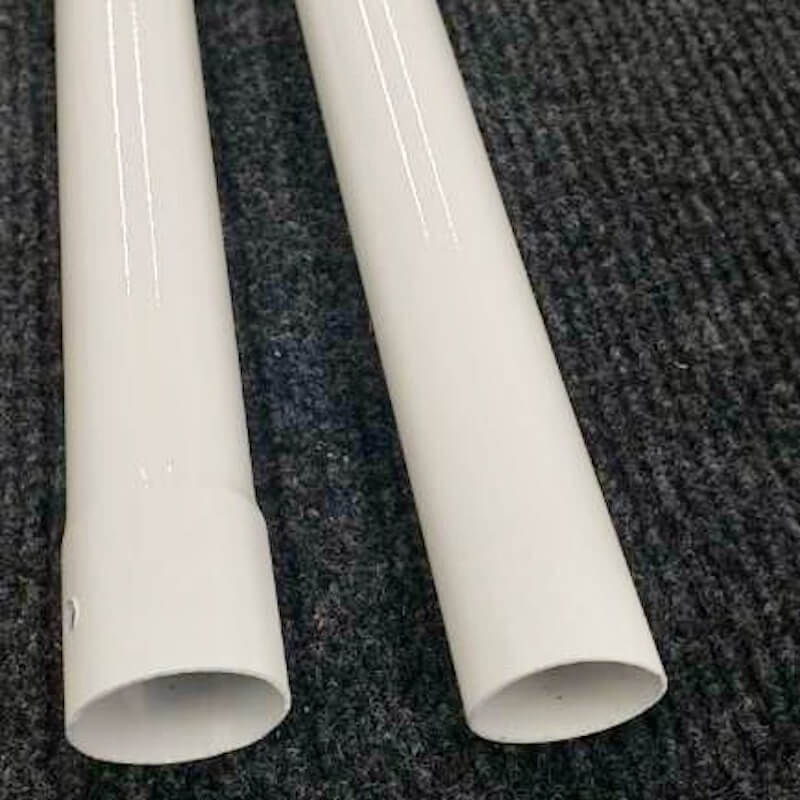
Poles


Accessories