Outdoor cooking enthusiasts know that a camping dutch oven is a game-changer for creating delicious meals over an open fire. From savory stews to golden-brown cobblers, this versatile piece of cast iron cookware is a must-have for any camper. In this guide, we’ll explore the unique features of camp Dutch ovens, share tips for using them effectively, and provide insights into making the most of your outdoor cooking adventures.
What Makes a Camping Dutch Oven Unique?
A camping dutch oven is distinct from its kitchen counterpart due to several specialized features that make it ideal for outdoor cooking:
1. Flanged Lid for Heat Efficiency
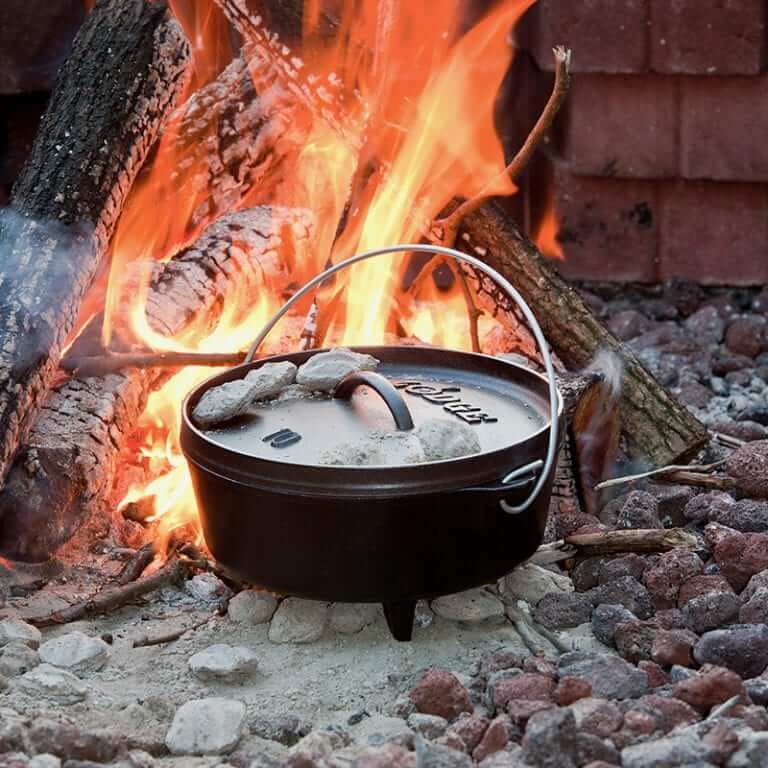
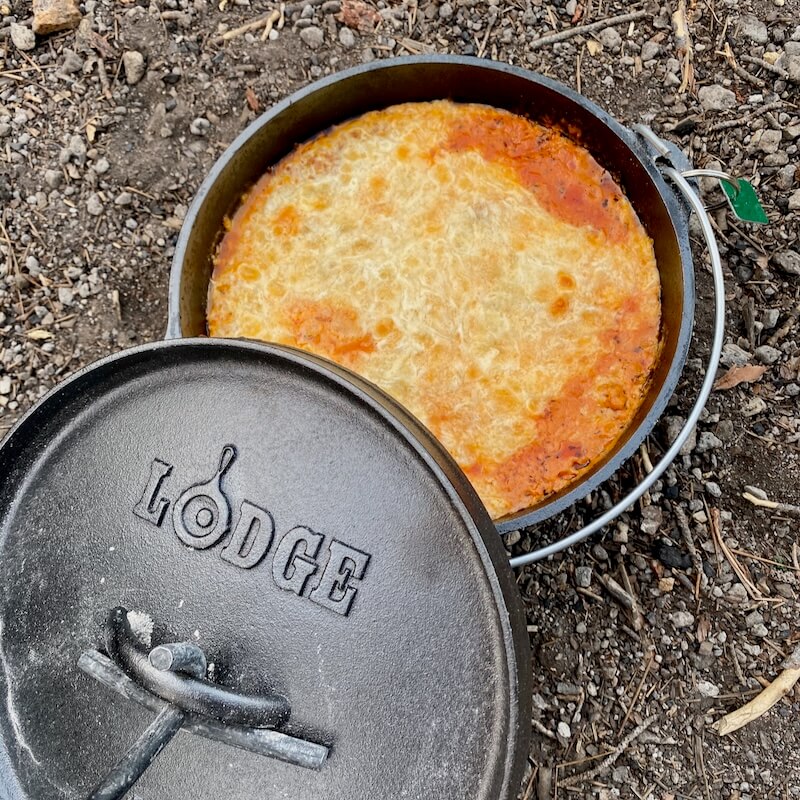
The flanged lid allows you to place charcoal briquettes or hot coals directly on top, ensuring even heat distribution. This design mimics the function of a conventional oven, making it perfect for baking breads, pies, or casseroles.
2. Three-Legged Design
Unlike flat-bottom models, a camp Dutch oven is equipped with three legs that elevate it off the ground. This provides space for hot coals to sit underneath, creating consistent bottom heat essential for roasting or frying.
3. Durable Cast Iron Construction
A cast iron dutch oven offers exceptional heat retention and durability, making it a reliable choice for rugged outdoor environments. When properly seasoned, it also provides a natural non-stick surface, enhancing your cooking experience.
4. Multifunctional Lid
The lid when flipped upside down doubles as a skillet or griddle, perfect for frying eggs or flipping pancakes. This versatility maximizes utility, especially when packing light for camping trips. Use a 4-in-one camp Duch Oven tool to keep the lid off the ground.
The Joy of Stacking Camp Dutch Ovens
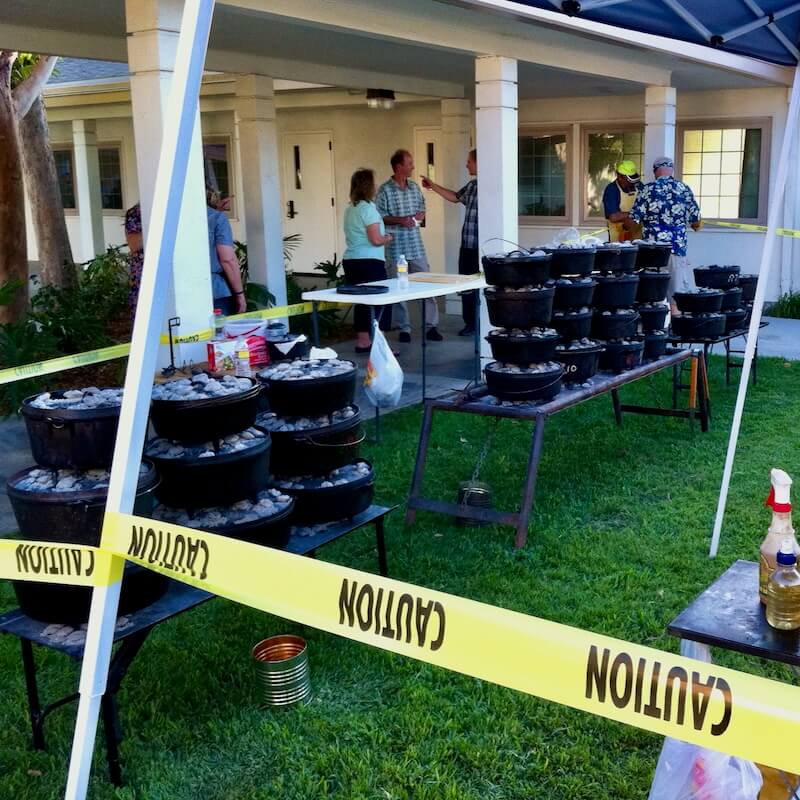
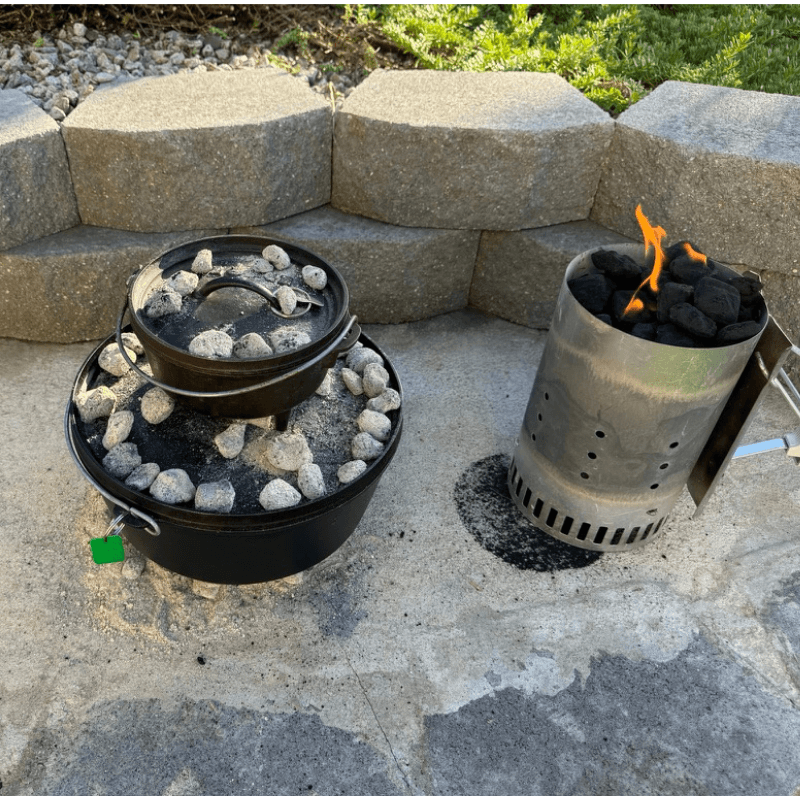
One of the most impressive techniques for using a camp dutch oven is stacking. By placing one oven atop another, you can cook multiple dishes simultaneously while conserving heat. Here’s how it works:
- The bottom dutch oven is used for recipes requiring high heat, such as stews or roasts.
- The middle oven is perfect for baking items like biscuits or cornbread.
- The top oven, where the heat is gentler, can be used for desserts like fruit cobblers.
Stacks can go as high as five or six pots, but mastering this technique requires practice in timing and heat management. Rotate the ovens periodically to ensure even cooking.
Tips for Cooking with a Camping Dutch Oven
1. Mastering Heat Control
Achieving the right temperature is crucial for successful Dutch oven cooking. Use these tips:
- Use a lid lifter to safely adjust coals on top of the lid.
- Follow a heat chart to determine the number of charcoal briquettes needed for your desired temperature. For example, 10 coals on top and 8 underneath typically produce 350°F.
- Rotate the oven and lid every 15-20 minutes to prevent hot spots.
2. Choosing the Right Size
Camping Dutch ovens come in various sizes, from compact 2-quart models for personal meals to large 12-quart versions for group cooking. Match the size to your needs and recipes.
3. Cleaning and Maintenance
Proper care extends the life of your cast iron cookware:
- Avoid using soap; instead, clean with warm water and a stiff brush.
- Dry thoroughly and apply a thin layer of oil to prevent rust.
- Store in a dry, ventilated area to maintain seasoning.
Why Seasoning Your Dutch Oven Matters
Seasoning is the process of building a layer of polymerized oil on the surface of your Dutch oven. This protective layer offers several benefits:
- Non-stick Surface: A well-seasoned Dutch oven makes cooking and cleanup easier, as food is less likely to stick.
- Enhanced Flavor: Over time, seasoning absorbs flavors, enriching the taste of your dishes.
- Rust Protection: Seasoning acts as a barrier against moisture, preventing rust and prolonging the life of your cookware.
To maintain your seasoning, avoid abrasive scrubbing and always dry your Dutch oven thoroughly after cleaning. If your oven develops rust, it can often be restored by scrubbing with steel wool and re-seasoning with vegetable oil.
Best Dutch Oven Recipes for Camping
Here are a few tried-and-true dutch oven recipes to elevate your next camping trip:
Campfire Stew
- Ingredients: Beef chunks, potatoes, carrots, onions, broth, and seasonings.
- Instructions: Combine ingredients in the bottom dutch oven, place hot coals underneath and on the lid, and cook for 2-3 hours until tender.
Dutch Oven Cobbler
- Ingredients: Canned peaches, yellow cake mix, and butter.
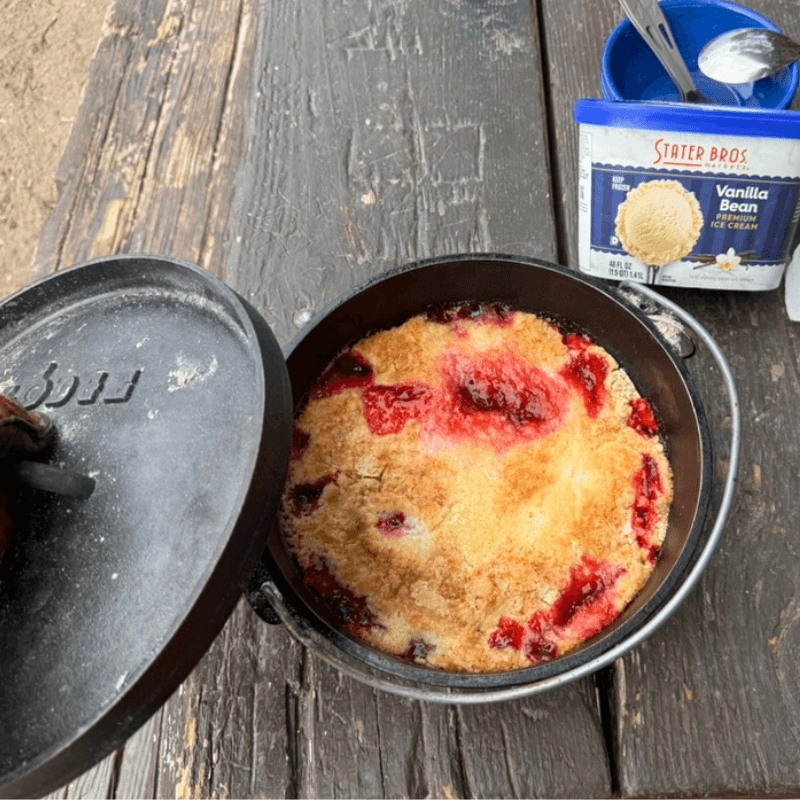
- Instructions: Layer peaches and cake mix in the oven, dot with butter, and bake for 30 minutes with coals on top and bottom.
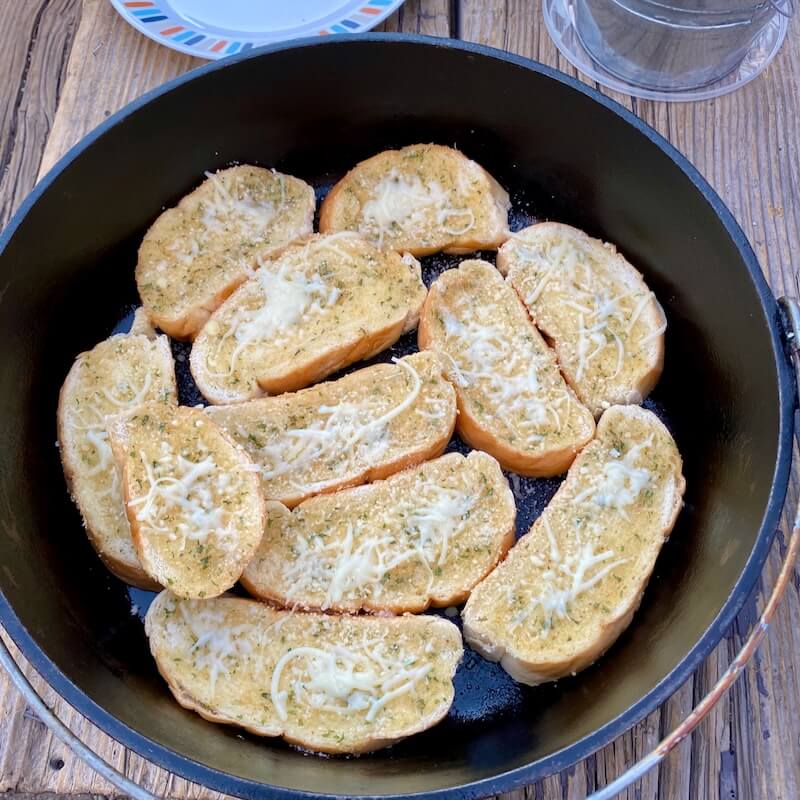
Cheesy Garlic Bread
- Ingredients: Pre-made dough, butter, garlic, and cheese.
- Instructions: Place dough in the oven, add toppings, and bake for 25-30 minutes, rotating as needed.
Breakfast Scramble
- Ingredients: Eggs, sausage, hash browns, and shredded cheese.
- Instructions: Cook sausage and hash browns in the oven, add beaten eggs, and top with cheese. Bake until eggs are set, about 20 minutes.
Accessories to Enhance Your Experience
Maximize your Dutch oven’s potential with these essential tools:
- Lid Lifter: Safely handle the hot lid without burning your hands.
- Charcoal Chimney Starter: Quickly and efficiently light your charcoal briquettes for even cooking.
- Tripod Stand: Suspend your Dutch oven over an open fire for traditional campfire cooking.
- Cook Table: Provide a stable, elevated surface for easier and safer Dutch oven cooking, keeping it off the ground and at a convenient working height.
- Thermometer: Monitor internal temperatures to avoid under- or overcooking.
- Storage Bag: Protect your Dutch oven during transport and storage.
Frequently Asked Questions
1. Can I use a camp Dutch oven indoors?
Yes! While designed for outdoor use, a camp Dutch oven can be used on a stovetop or in a conventional oven. Just ensure the legs are stable if placed on a flat surface.
2. How many people can a camping Dutch oven feed?
The capacity varies by size. A 6-quart oven typically serves 4-6 people, while a 12-quart oven can accommodate 10-12 servings.
3. What’s the difference between a flat-bottom and a camp Dutch oven?
A flat-bottom Dutch oven is suited for indoor use, as it sits evenly on stovetops. A camp Dutch oven has legs and a flanged lid, making it ideal for use with charcoal briquettes and outdoor cooking.
4. How do I store my Dutch oven?
After cleaning and drying, store your Dutch oven in a dry, ventilated area. Avoid sealing it in airtight containers, as trapped moisture can lead to rust.
Why a Camping Dutch Oven is Worth the Investment
Investing in a high-quality camping dutch oven pays off in the long run. It’s a versatile, durable, and efficient cooking tool that enhances outdoor meals. Whether you’re cooking over an open fire, using charcoal briquettes, or stacking ovens for an ambitious multi-course meal, the possibilities are endless.
By mastering techniques like heat management and stacking, you’ll not only impress your fellow campers but also create unforgettable culinary experiences. So, grab your Dutch oven, head to the great outdoors, and let the adventures begin!


