Easy Starlink Kickstand Removal – Hello everyone, this is Aaron from Hitched4fun.com, and today I wanted to show you how easy it is to remove the kickstand from the Starlink Gen 3 dish, also known as the kickstand dish. Let’s dive into the process!
Removing the Kickstand
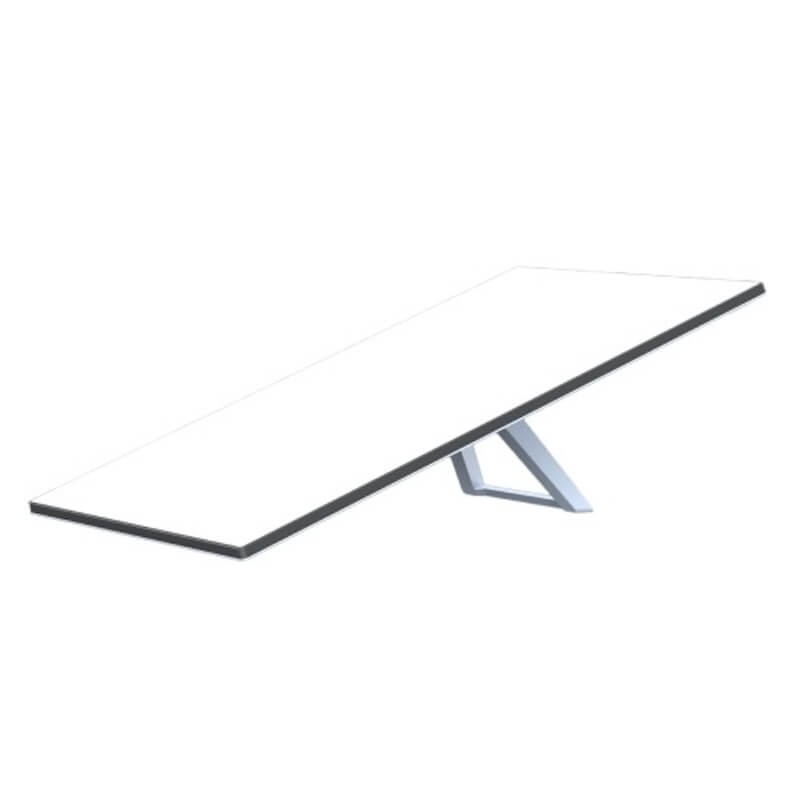
Flip it over so you can see the backside of your dish. It comes with the kickstand, which is how it gets its nickname. One of the most common questions we get is, “How do you remove the kickstand from the dish?” So, I want to show you just how easy that is.
- Locate the Tab: On the longer end of the kickstand, you’ll notice a small tab on the back.
- Lift the Tab: Simply put a couple of fingers under that tab and lift on it gently.
- Slide and Remove: At the same time, move the kickstand out to the side. Lift and then slide, and it pops right out!
You’ll see on the bottom that there are a couple of cleats on the kickstand that fit into grooves, and the front part catches under the dish. To reattach it, just reverse the process: slide it back in, push until it clicks, and you’re good to go!
Installing the Starlink RV Gen 3 Kickstand Adapter
Next, I wanted to show you our pole adapter for the kickstand dish. This adapter is fantastic because it allows for the wiring to be run either internally through your pole or externally, depending on your setup preference.
Internal Wiring Setup:
- Run the Wire: First, run the wire through the adapter.
- Connect to the Dish: Plug the wire into the dish.
- Attach the Adapter: Slide and click the adapter into place. Ensure the front of the adapter is secured, then push until you hear it click.
For an internal wiring setup, slide the wire through the adapter, connect it to the dish, and then attach the adapter to the dish. Make sure the cleats drop into the grooves, and you can then fish the wire through your pole. Once this is done, secure it with the wing nut, and you’re all set!
External Wiring Setup:
- Connect the Wire: Plug the wire into the dish.
- Attach the Adapter: Click the adapter in place with the wire running externally out of the side.
Conclusion
Thanks for reading. If you have any questions, please reach out to us. We truly appreciate your business. We’re here to make your RV adventures even better with reliable, easy-to-use products.
Watch the YouTube Tutorial Video: Easy Starlink Kickstand Removal & Installation of RV Gen 3 Kickstand Adapter
Shop Now: Starlink RV Gen 3 Kickstand Adapter
Stay connected and enjoy your travels!
Tags: #Starlink #RVInternet #hitched4fun #StarlinkAdapter #RVLife #TechTutorial